


The Expert’s Checklist: Installing a Joist Hanger Without Fastener Errors
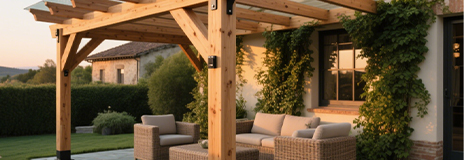
In wood building work, the true strength comes from the links that join the parts, not just the beams themselves. This applies whether you work on a home deck or a sturdy business roof. Properly installing a joist hanger makes the difference between long-term firmness and a major breakdown.
Fasteners form the core of these links. A top-grade steel hanger can still give way if you use the wrong nails or screws to fix it in place. This guide offers a clear list of steps for a mistake-free setup. It covers matching materials, hardware suited to tasks like rafter joist hangers, and key details for securing joist hangers on rim board.
Pre-Installation: Choosing the Right Connector and Fastener
Before you drive in the first nail, a skilled worker needs to confirm the parts fit the site and weight needs. Picking the incorrect finish or thickness ranks as the top hidden issue in building supplies.
Material Compatibility and Coatings
A plain zinc-covered nail paired with a hot-dip galvanized hanger sparks a reaction that speeds up rust. This can cut the link’s life in half. For solid outcomes, always pair the fastener finish with the hanger type:
- Hot-Dip Galvanized (HDG): Required for outside or damp spots. Seek finishes that hit the 60-85μm thickness level to fight water and chemical wear.
- Stainless Steel (304/316): Needed for high-end or seaside jobs where salt air plays a role.
- Customized Solutions: In harsh settings, like factory sites or shore areas, special finish layers up to 100μm exist. These keep the part sound across temperatures from -40℃ to 80℃.
Technical Comparison: Standard vs. Specialized Hangers
Picking an unfit hanger type for a given frame setup leads to a basic flaw. Various uses call for distinct weight-handling levels and fixing setups.
|
Feature |
Standard Joist Hangers |
Rafter Joist Hangers |
Heavy-Duty Beam Hangers |
|
Typical Application |
Horizontal floor joists |
Sloped roof trusses/rafters |
Main load-bearing beams |
|
Load Capacity |
500N – 2500N |
1500N – 5000N |
Up to 10,000N+ |
|
Primary Keyword |
Installing a joist hanger |
Rafter joist hangers |
Beam hangers |
|
Nailing Pattern |
Face-mount / Standard |
Sloped or skewed nailing |
Double-shear nailing |
|
Customized Options |
Customized width & height |
Customized pitch angles |
Customized hole patterns |
Many professional builders reduce joist hanger installation errors by standardizing their connectors and fasteners from manufacturers that follow consistent hole layouts, controlled zinc coating thickness, and strict load-rating verification.
Suppliers like STRZ focus on precision-stamped joist hangers designed to meet these installation requirements, helping crews achieve repeatable results across large projects.
The Installation Checklist: A Step-by-Step Guide
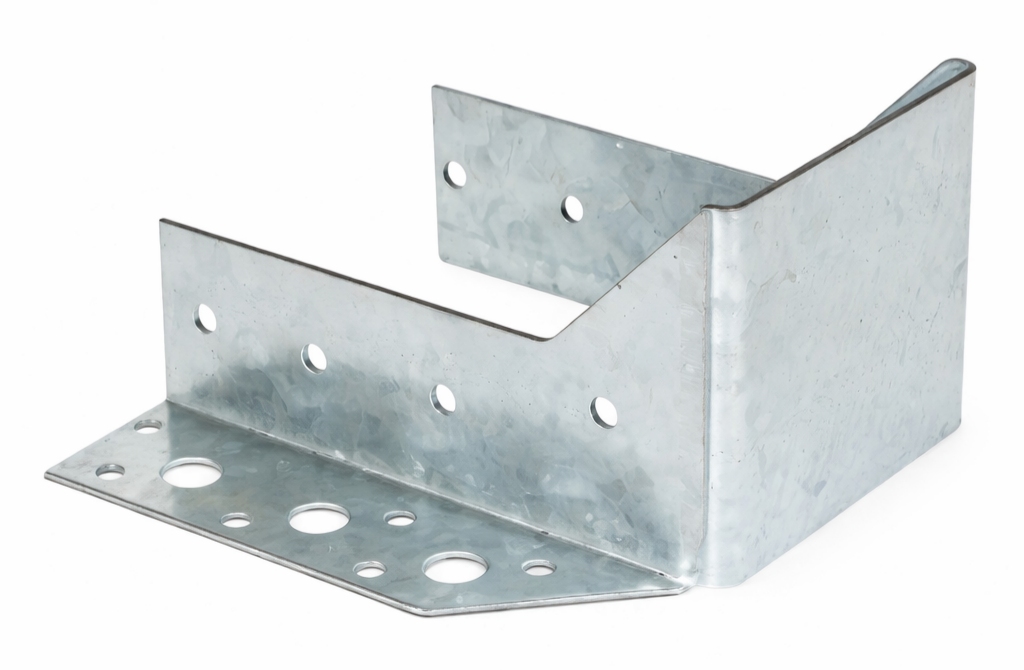
Step 1: Alignment on the Rim Board
During installing a joist hanger, exact placement counts above all when securing joist hangers on rim board. The rim board serves as the frame’s outer edge. A small lean in the hanger leads to an uneven floor or deck overall. Take a leftover joist piece to position the hanger at the right level. Do this before you insert the initial nail.
Step 2: Proper Seating and Gap Control
Cut the joist straight and press it snugly into the hanger base. Any space over 1/8 inch (3mm) at the joist end and header causes twisting or noise when weight is applied. Items in the STRZ line use set sizes. Thus, if the wood cuts square, the match stays even.
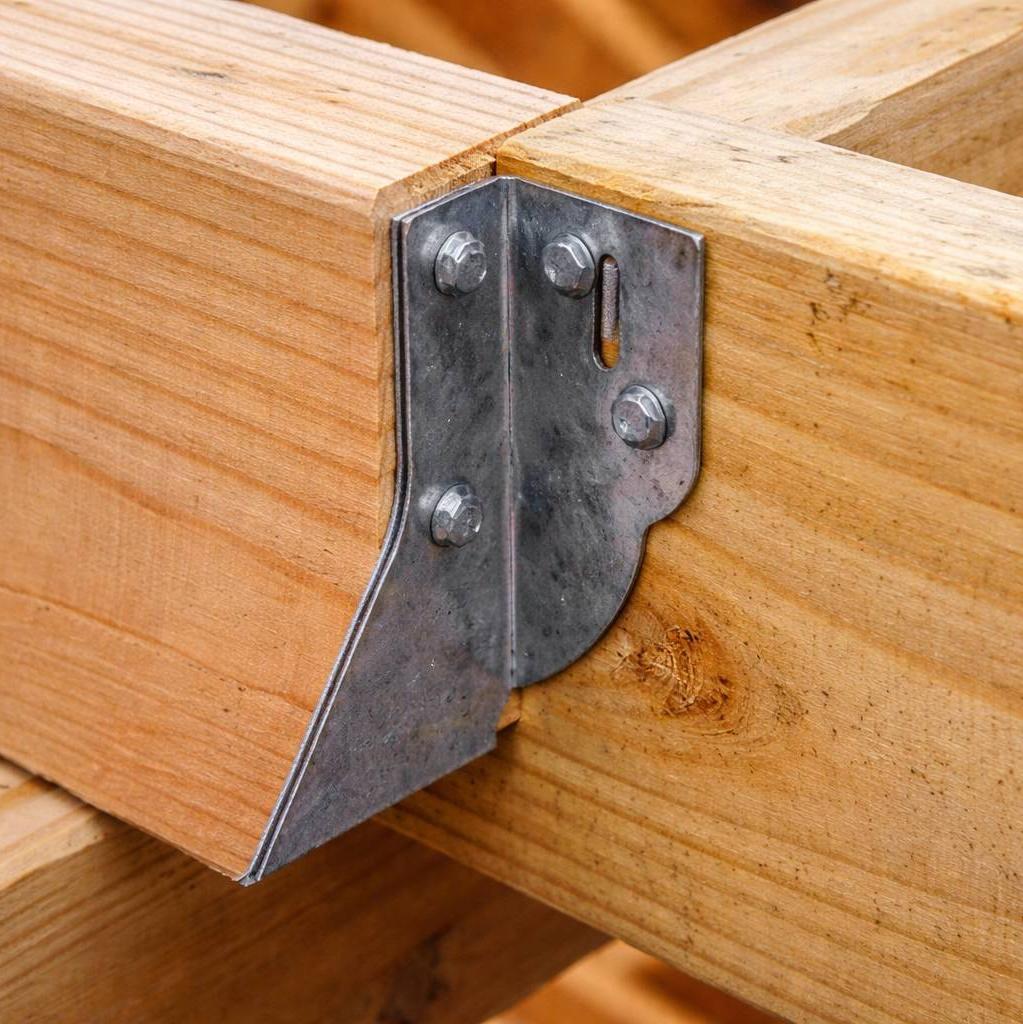
Step 3: Filling Every Manufactured Hole
Newer hangers come with planned hole layouts to hit the listed weight limits. Many workers miss the side or double-pass holes. To gain the full load rating, which reaches 5000N in strong models, fill each hole the maker includes with a fitting fastener.
Step 4: Rafter Pitch Adjustments
For roof work, especially with rafter joist hangers, factor in the slope during installing a joist hanger. Such connectors usually have angled edges built in. A flat hanger on a tilted rafter bends the metal. This creates small cracks in the zinc cover and weakens the steel’s core strength.
Case Study: Efficiency Through Standardized Quality
In a fresh home building effort in the United States, one firm used 10,000 units of zinc-coated joist hangers. The team picked parts with exact stamped hole spots and uniform sizes. As a result, setup mistakes dropped by 40%. The simple fitting sped things up. The job finished two weeks early. This example shows how well-made, accurate hardware lowers work expenses and shortens full project times.

Avoiding Common Mistakes in the Field
The “Violent Impact” Error
Steer clear of strong hits or big hammers to push a joist into place. Such hard blows harm the thick zinc shield. If the wood resists, check the measurements first. For unusual jobs, order a tailored size that adjusts length, width, or hole spots. This beats forcing a match that ruins the finish.
Hardwood and Pre-drilling
Soft woods such as Pine or Fir allow some leeway. But dense hardwoods like Oak or Teak demand a guide hole ahead. Hammering a thick building nail into a hard rim board without splitting the grain. This makes the whole link worthless, no matter the hanger’s power.
Conclusion
Fixing bad joist hanger fasteners begins with sticking to pro rules. Choose suitable materials, stick to a careful setup list, and resist shortcuts on fixings. In this way, you create a build that stays safe and strong for many years.
Builders and supply partners aiming to boost their work standards can turn to STRZ for a full line of frame links that follow tight safety guidelines.
Ready to elevate the quality of your projects? Don’t let faulty fasteners ruin your professional reputation. STRZ offers precision-stamped brackets that meet international standards, ensuring every connection stands the test of time.
FAQ
Q: Can I use screws instead of nails when installing a joist hanger?
A: Only certified “structural screws” can be used. To facilitate construction, STRZ has specially developed a dedicated anchoring screw that matches the bracket hole diameter, which not only has stronger shear resistance but also installs 30% faster than traditional nailing.
Q: What is the best way to secure joist hangers on rim boards for outdoor decks?
A: Use hot-dip galvanized (HDG) connectors and nails. Ensure the rim board is made of structural-grade lumber. For coastal areas, we recommend a customized 100-micron coating or stainless steel to prevent premature rust.
Q: Do rafter joist hangers require special installation techniques?
A: Yes. Because rafters deal with wind uplift and snow loads, they often require “double-shear” nailing, where the nail passes through the joist flange and into the header at a 45-degree angle to maximize holding power.
Q: How do I handle non-standard wood beam sizes?
A: Standard hangers are made for common lumber (e.g., 2×4, 2×6). For engineered timber or glulam beams, you should request a customized hanger design where the width, height, and steel thickness are specifically calculated for those dimensions.
Q: What should I do if the galvanized coating is scratched during installation?
A: Any deep scratches should be repaired immediately with a cold-galvanization spray or zinc-rich paint to prevent localized corrosion from spreading to the rest of the steel.
Related news
-
What to consider when sourcing from kitchen cabinet hinges suppliers

-
Understanding timber structure connections for strong and lasting joints
-
Indoor vs. Outdoor: Best Galvanized Joist Hangers for Floor Joists and Decks
-
How Welding Hinge Manufacturers Define Quality and Durability
-
5 Common Types of Timber Connectors and When to Use Them


 Consult
 Whatsapp
 Leave Message
 top
top


